Page 1 of 2

Scott's Pocketship progress

PostPosted: Thu Feb 05, 2009 6:46 pm
by SHyland83
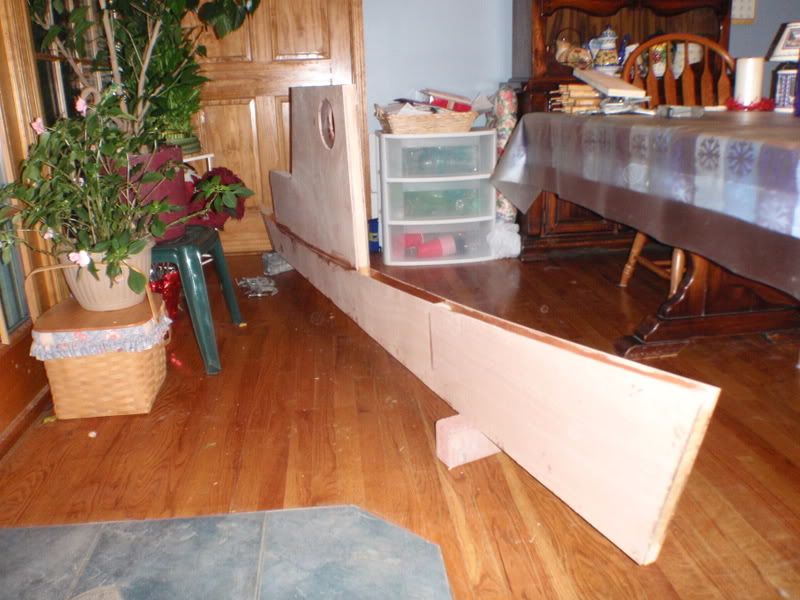
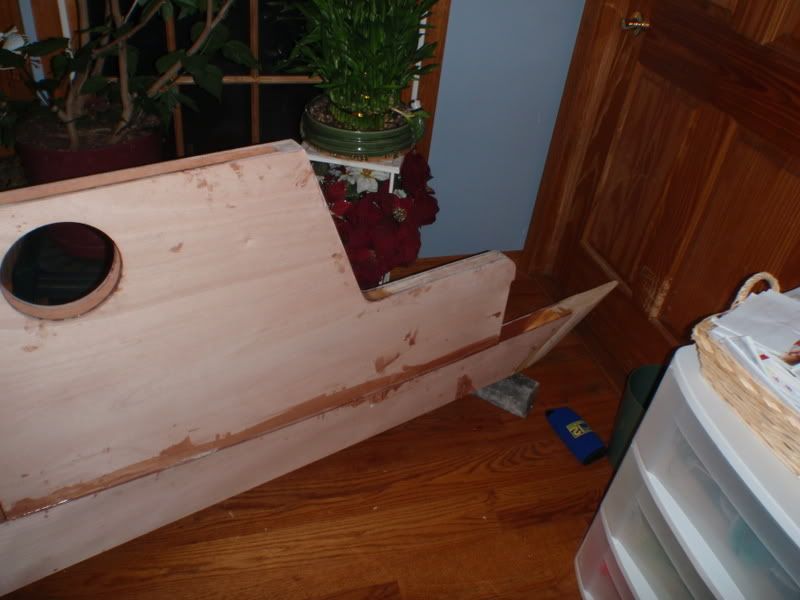
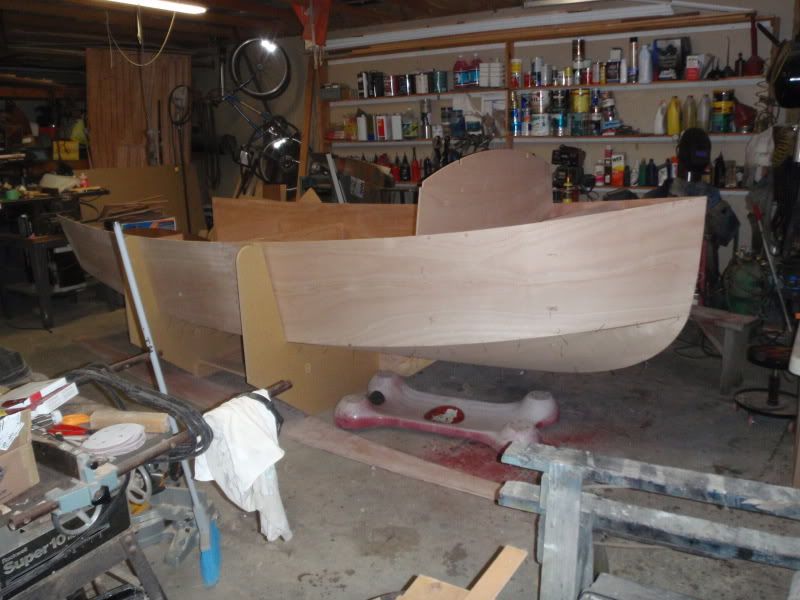
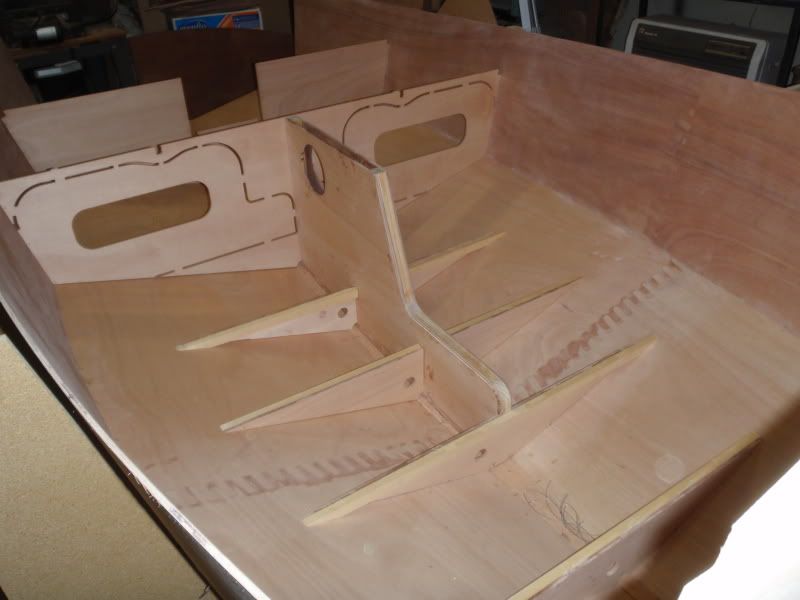
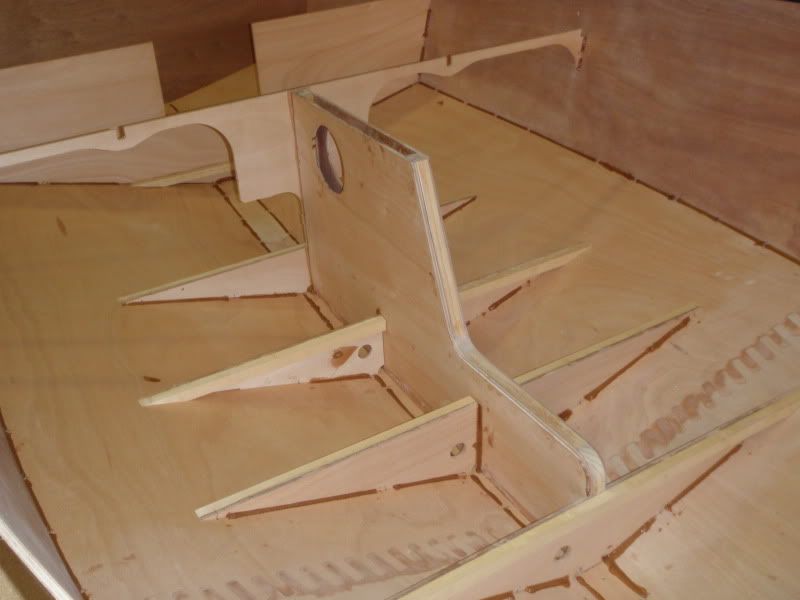
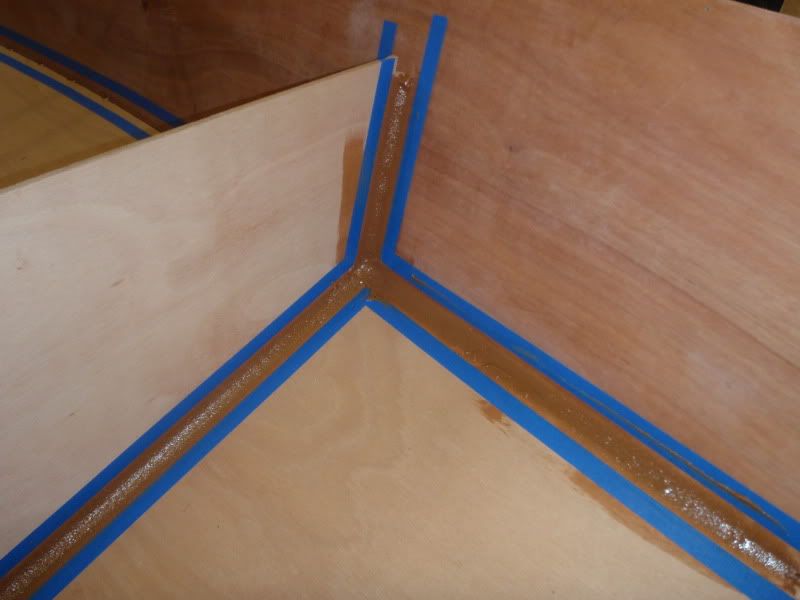
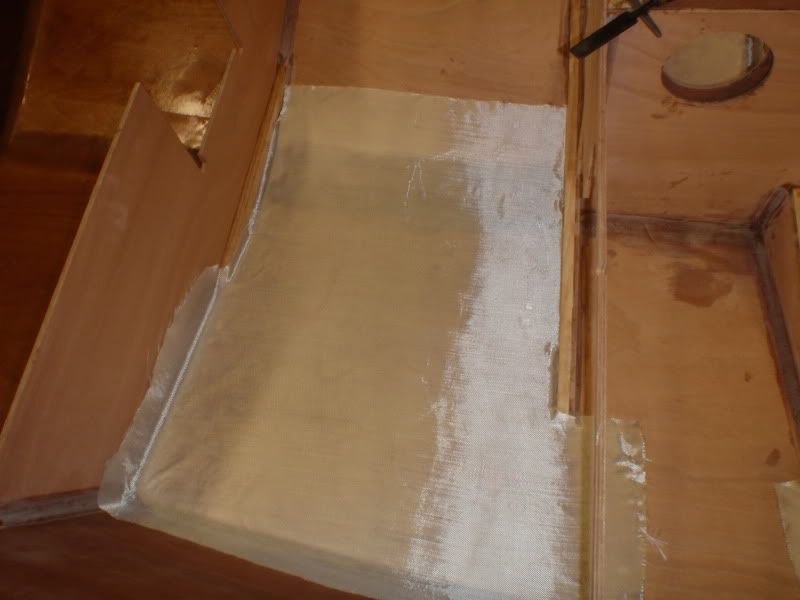
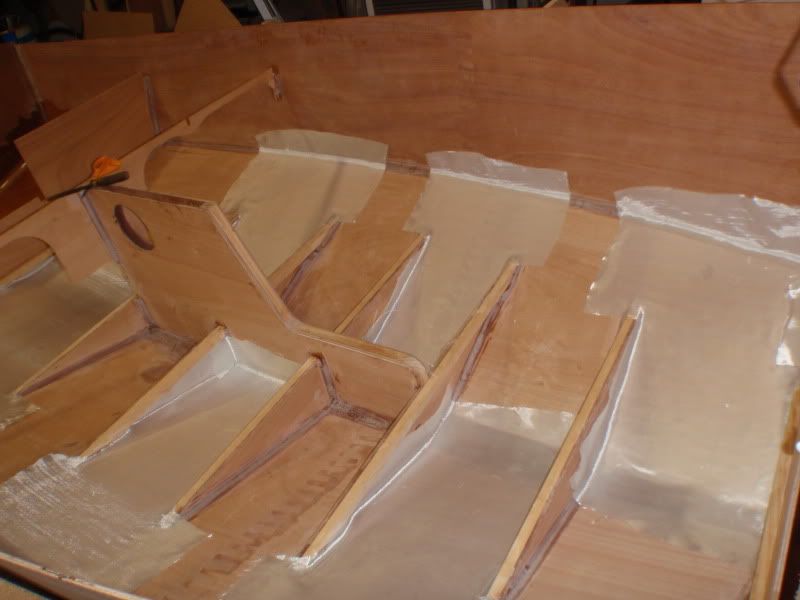
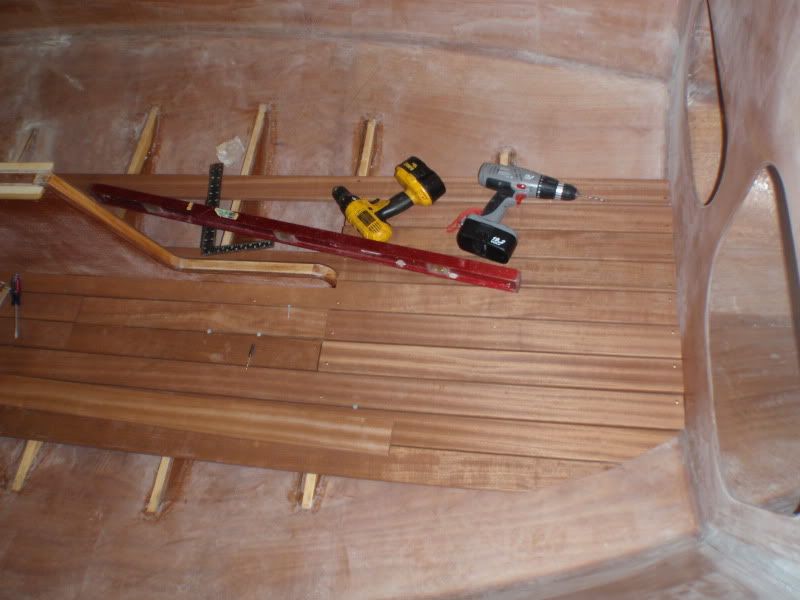
I was just going to start a thread on another forum and then CLC comes to the rescue, and i get to be the first to post :D . I have done a really poor job of remembering to take pictures so far, but I'm going to try to get better. The only problem i've had so far is dealing with the cold weather. I have been letting the pieces cure in the garage for a few hours then carrying them into the house to cure so i can turn off the heat in the garage. That's going to be hard to do when i start glassing the hull panels soon, not sure how i'm going to deal with that yet. This is what it looks like now...

Image

Image

Re: Scott's Pocketship progress

PostPosted: Thu Feb 05, 2009 7:40 pm
by Donm1753
Great addition to the dining room! :lol:

Re: Scott's Pocketship progress

PostPosted: Thu Feb 05, 2009 8:19 pm
by Fishbuster
Yes do try to make picture taking a regular routine every time you do something.

Better to have too many pics than not enough. I took a lot (I thought) of pictures of my kayak build but sometimes someone has a question I can answer and help with but find myself wishing I had a better detailed photo to add with my post.

The Pocketship is a new addition to the fleet of kits, so there are a whole lot of us curious and excited about seeing these boats built. Many will be following your build! 8-)

Re: Scott's Pocketship progress

PostPosted: Sun Feb 08, 2009 4:00 pm
by SHyland83
So i poured the lead in the keel today, it went really well. Here are some pictures of my ghetto rig. I had an old propane burner that i had to make some modifications to. I also glued up the centerboard and the puzzle joint on the piece that attaches to the keel.

Image

Image

Image

Image

Image

Re: Scott's Pocketship progress

PostPosted: Mon Apr 06, 2009 11:19 am
by SHyland83
Today is a big day, I plan on starting to stitch the hull together this afternoon. i'll post pics as soon as i can.

Re: Scott's Pocketship progress

PostPosted: Wed Apr 08, 2009 10:06 pm
by SHyland83
I have more than a few puncture wounds from the wire, but i have it mostly stitched together. A few of the bulkheads still need to be stitched in.

Image

Image

Image

Re: Scott's Pocketship progress

PostPosted: Thu Apr 09, 2009 2:59 pm
by jeff
Nice work Scott, It's beginning to look like a boat.........Now the fun begins "the Fillets"............... keep up the pics.

Re: Scott's Pocketship progress

PostPosted: Mon Jan 18, 2010 7:20 pm
by SHyland83
Ok a long overdue update on progress.

The transom going in
Image
Image

My home made fillet tool made from a plastic spreader
Image

Tack welds in and wires removed
Image

Fillets
Image

Re: Scott's Pocketship progress

PostPosted: Mon Jan 18, 2010 7:35 pm
by SHyland83
Glassing the inside of the hull
Image
Image
Image

Now I'm in the process of installing the floorboards
Image

Re: Scott's Pocketship progress

PostPosted: Mon Oct 17, 2016 11:47 am
by SHyland83
So i bought a house, got married and had a baby in the last 5 years but did not work on the boat much. I have a lot of progress pics from before i stopped working on it i will post soon. And hopefully now that i started back up again i will keep up with pics.